Classic New York Cheesecake with Graham Cracker Crust
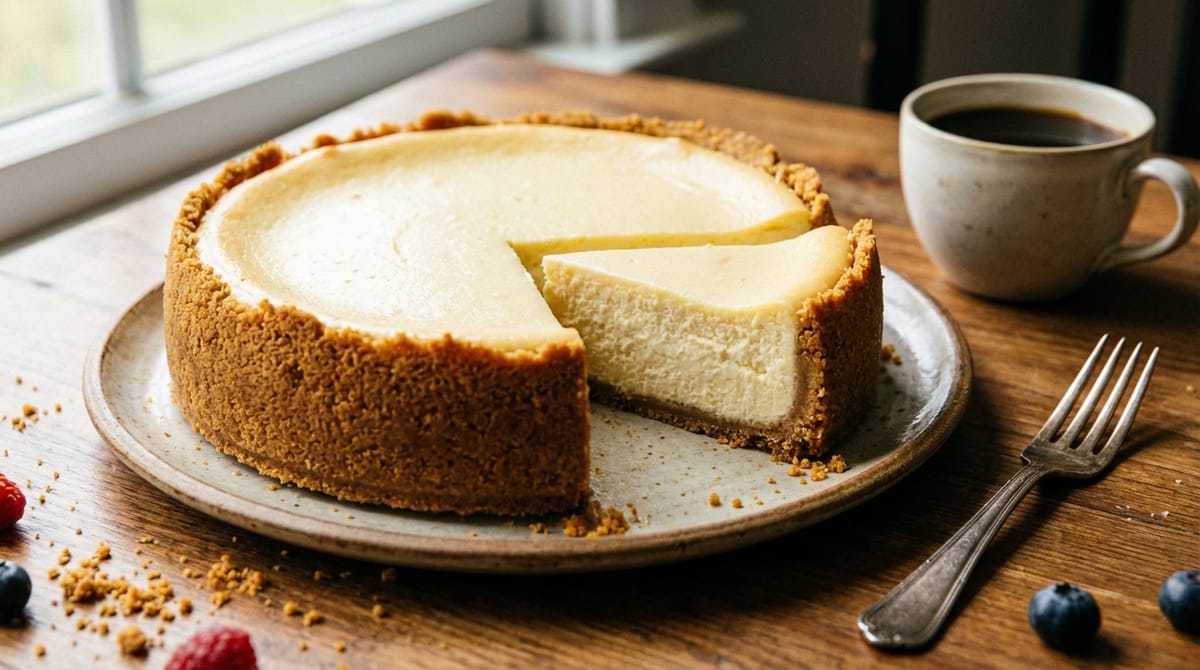
New York cheesecake stands as one of America's most celebrated desserts, distinguished by its dense, creamy texture and luxurious mouthfeel. Unlike lighter, fluffier cheesecake styles, this iconic dessert commands attention with its substantial presence and rich flavor profile. The combination of cream cheese, eggs, and sour cream creates a filling that's both indulgent and perfectly balanced, while the graham cracker crust provides a sweet, buttery foundation that complements without competing.
What makes this cheesecake truly special is its simplicity. Despite its impressive appearance and restaurant-quality taste, the recipe relies on straightforward techniques and readily available ingredients. The key lies not in complexity but in precision - proper ingredient temperatures, careful mixing, and patient chilling transform basic components into an extraordinary dessert. Whether you're planning a holiday celebration, marking a special occasion, or simply craving something spectacular, mastering this classic recipe opens the door to countless variations and guaranteed crowd-pleasing results.
This comprehensive guide walks you through every aspect of creating the perfect New York cheesecake, from selecting the right ingredients to troubleshooting common issues. With attention to detail and proper technique, you'll produce a cheesecake that rivals the finest bakery versions.
The Complete Recipe
This recipe yields a 9-inch cheesecake that serves 12-16 people. Total time including chilling is approximately 8-12 hours, though active preparation and baking take only about 2 hours. The overnight rest is essential for proper texture development.
Ingredients for the Graham Cracker Crust
- 1 3/4 cups graham cracker crumbs (about 14 full graham crackers, finely ground)
- 2 tablespoons granulated sugar
- 1/2 cup unsalted butter, melted
- Pinch of salt (optional)
- 1/4 teaspoon ground cinnamon (optional, for added warmth)
Ingredients for the Cream Cheese Filling
- 32 ounces cream cheese (four 8-ounce packages), softened to room temperature
- 1 1/2 to 2 cups granulated sugar (adjust based on sweetness preference)
- 1 cup sour cream, room temperature
- 1/2 cup heavy cream, room temperature
- 4 large eggs plus 2 egg yolks, room temperature
- 2 teaspoons vanilla extract or 2 tablespoons vanilla bean paste
- 2 tablespoons all-purpose flour
- 1 teaspoon lemon zest (optional)
- 2 teaspoons fresh lemon juice
- 1/2 teaspoon salt
Step-by-Step Instructions
- Preheat your oven to 325°F (163°C). Wrap the outside of a 9-inch springform pan with aluminum foil to prevent leaks. Line the bottom with parchment paper for easy removal.
- Prepare the crust by combining graham cracker crumbs, sugar, salt, and cinnamon (if using) in a medium bowl. Pour in the melted butter and mix until the mixture resembles wet sand and holds together when pressed.
- Press the crumb mixture firmly into the bottom of the prepared springform pan, creating an even layer. Use the bottom of a measuring cup to compact it thoroughly. Bake for 10 minutes, then remove and let cool while preparing the filling.
- In a large mixing bowl, beat the softened cream cheese on medium speed for 2-3 minutes until completely smooth and fluffy with no lumps remaining. Scrape down the sides frequently.
- Gradually add the sugar in three additions, beating well after each and scraping the bowl between additions. The mixture should be light and creamy.
- Add the sour cream and mix until fully incorporated and smooth.
- Beat in the vanilla extract, lemon zest, lemon juice, flour, and salt until well combined.
- Add the heavy cream and mix on low speed until just incorporated.
- Add the eggs and egg yolks one at a time, mixing on low speed after each addition. Mix only until each egg disappears into the batter - overmixing incorporates too much air, which can cause cracking.
- Pour the filling over the prepared crust, smoothing the top with a spatula. Tap the pan gently on the counter several times to release any air bubbles.
- Place the springform pan in a larger roasting pan. Create a water bath by pouring hot water into the roasting pan until it reaches halfway up the sides of the springform pan.
- Bake at 325°F for 75-90 minutes. The cheesecake is done when the edges are set and slightly puffed, but the center still jiggles slightly when gently shaken - it should move as one unit, not ripple like liquid.
- Turn off the oven, crack the door open about 4 inches, and let the cheesecake cool in the oven for 1 hour. This gradual temperature change prevents cracking.
- Remove from the oven and water bath, then cool completely at room temperature for another hour.
- Cover with plastic wrap and refrigerate for at least 6 hours, preferably overnight. This chilling period is crucial for proper texture development and clean slicing.
- To serve, run a thin knife around the edge of the pan before releasing the springform. Use a sharp knife dipped in hot water and wiped clean between each cut for perfect slices.
Understanding the Essential Ingredients
The quality and temperature of your ingredients directly impact the final result. Cream cheese forms the foundation of this dessert, and using full-fat, block-style cream cheese is non-negotiable. The whipped varieties sold in tubs contain too much air and moisture, resulting in a loose, unstable filling that won't set properly. Bringing cream cheese to room temperature takes 2-3 hours but makes the difference between a smooth, lump-free filling and one with stubborn chunks that refuse to incorporate.
Eggs play a dual role, providing both structure and richness. The combination of whole eggs and additional yolks creates the characteristic dense, custard-like texture that defines New York-style cheesecake. Room temperature eggs blend more easily into the batter without requiring excessive mixing, which can incorporate unwanted air bubbles. Sour cream and heavy cream add tanginess and richness while contributing to the ultra-smooth mouthfeel. The acidity in sour cream also helps tenderize the protein structure, preventing a rubbery texture.
Sugar does more than sweeten - it affects texture and moisture retention. The amount can be adjusted between 1 1/2 and 2 cups depending on personal preference, though traditional New York cheesecake leans toward the sweeter end of the spectrum. Vanilla extract provides aromatic depth, while lemon zest and juice brighten the rich flavors without making the cheesecake taste citrusy. The small amount of flour stabilizes the filling, helping it hold its shape when sliced while maintaining creaminess.
The Science Behind the Perfect Texture
Achieving that signature dense, creamy texture requires understanding what happens during baking. Cheesecake is essentially a custard, and like all custards, it sets through the coagulation of egg proteins when heated. The key is gentle, even cooking that allows these proteins to form a delicate network without becoming tough or grainy. High temperatures or rapid temperature changes cause the proteins to seize up quickly, squeezing out moisture and creating a dry, crumbly texture with an increased likelihood of cracks forming on the surface.
The water bath method, also called a bain-marie, surrounds the cheesecake with moist, even heat that prevents the edges from overcooking while the center catches up. Water cannot exceed 212°F at sea level, creating a buffer that keeps the cheesecake temperature moderate even if your oven runs hot. This technique also adds humidity to the oven environment, preventing the surface from drying out and cracking. While some bakers skip the water bath and compensate with lower temperatures or shorter baking times, the water bath remains the most reliable method for consistent results.
The gradual cooling process is equally important. When a hot cheesecake meets cold air suddenly, the rapid contraction causes stress cracks across the surface. Cooling in stages - first in the turned-off oven with the door cracked, then at room temperature, and finally in the refrigerator - allows the structure to stabilize gently. The extended refrigeration period isn't just about chilling; during this time, the filling continues to set and the flavors meld together, transforming from a freshly baked custard into the firm, sliceable cheesecake with complex flavor development.
Mastering the Graham Cracker Crust
The crust provides textural contrast and a buttery foundation that keeps each slice from feeling monotonous. Graham crackers are the traditional choice, offering a honey-sweet flavor and sandy texture that pairs beautifully with the tangy filling. Processing whole graham crackers in a food processor yields the finest, most uniform crumbs, though placing them in a sealed bag and crushing them with a rolling pin works in a pinch. The crumbs should be fine and powdery rather than chunky for the best texture.
The ratio of butter to crumbs determines whether your crust holds together or crumbles apart. Too little butter creates a dry, sandy crust that falls apart when you try to slice the cheesecake. Too much makes it greasy and prevents it from setting properly. The mixture should resemble wet sand and hold its shape when squeezed in your palm. Pressing the crust firmly and evenly into the pan bottom is crucial - a loose, unevenly packed crust will have soft spots that don't hold up under the weight of the filling.
Pre-baking the crust for 10 minutes serves multiple purposes. It sets the butter, creating a firmer base that won't become soggy when the wet filling is added. The light toasting also develops deeper flavor through the Maillard reaction, adding subtle nutty notes. Some bakers extend the crust partway up the sides of the pan for a more dramatic presentation, though a bottom-only crust is traditional and easier to execute perfectly. Adding a pinch of cinnamon to the crust mixture introduces warm spice notes that complement the vanilla in the filling without overwhelming the classic flavor profile.
Troubleshooting Common Cheesecake Problems
Cracks are the most common cheesecake complaint, but they're purely cosmetic and don't affect flavor or texture. If prevention fails, cracks can be concealed with sour cream topping, fresh berries, fruit compote, whipped cream, or chocolate ganache. The primary causes of cracking include overbaking, overmixing, and rapid temperature changes. A cheesecake is done when the edges are set but the center still jiggles slightly - it will continue cooking from residual heat and firm up completely during chilling. Using an oven thermometer ensures your actual baking temperature matches the dial setting, as many ovens run 25°F or more off calibration.
A soggy or soft crust typically results from insufficient pre-baking, too much butter in the mixture, or moisture seeping through from the filling. Ensuring the crust is firmly packed and properly baked before adding the filling prevents most issues. If using a water bath, wrapping the springform pan exterior thoroughly with heavy-duty aluminum foil prevents water from seeping into the pan through the seams. Some bakers double-wrap or use a slow cooker liner bag for extra insurance.
Lumpy filling comes from cold cream cheese that refuses to blend smoothly. Once lumps form, they're nearly impossible to eliminate without overmixing, which introduces air that causes other problems. Prevention is key - allow cream cheese to sit at room temperature for at least 2 hours before beginning. If you're short on time, cut the cream cheese into small cubes to speed up warming, but never microwave it, as this creates hot spots that can scramble eggs when they're added. A grainy texture indicates overcooking, where the proteins have tightened too much. Lower your oven temperature by 25°F and watch for the slight jiggle in the center as your doneness indicator.
Variations and Flavor Enhancements
Once you've mastered the classic version, countless variations await. Chocolate New York cheesecake incorporates 8-12 ounces of melted and cooled dark or semisweet chocolate into the filling, creating a rich, fudgy variation. For chocolate crust, replace half the graham cracker crumbs with chocolate wafer cookie crumbs. Fruit swirl cheesecakes feature ribbons of raspberry, strawberry, or blueberry puree gently swirled through the filling before baking, adding visual appeal and bright fruit flavor.
Pumpkin cheesecake transforms the classic into a fall favorite by replacing 1 cup of the cream cheese with pumpkin puree and adding warm spices like cinnamon, ginger, nutmeg, and cloves. For a more sophisticated flavor profile, brown the butter before mixing it into the crust, adding nutty, caramel notes. Espresso powder dissolved in the vanilla extract creates a subtle coffee undertone that enhances the cream cheese flavor without tasting overtly like coffee.
Toppings deserve consideration as they can elevate presentation dramatically. A simple sour cream topping made by mixing 2 cups sour cream with 1/4 cup sugar and 1 teaspoon vanilla, spread over the hot cheesecake and baked for an additional 10 minutes, adds a tangy layer and helps hide any surface imperfections. Fresh berry compote, made by simmering berries with sugar and a touch of lemon juice until thickened, provides bright color and tart contrast. Salted caramel sauce, chocolate ganache, or even a dusting of cocoa powder offers different flavor dimensions while maintaining the classic foundation.
Storage, Serving, and Make-Ahead Tips
Cheesecake actually improves with time, making it an ideal make-ahead dessert for entertaining. The flavors deepen and meld during refrigeration, and the texture becomes increasingly firm and sliceable. Store covered tightly in the refrigerator for up to 5 days - the high fat content acts as a preservative, and properly stored cheesecake maintains quality throughout this period. Use plastic wrap pressed directly against any cut surfaces to prevent drying, then cover the entire cheesecake with additional wrap or transfer to an airtight container.
For longer storage, cheesecake freezes exceptionally well for up to 3 months. Wrap the completely cooled cheesecake tightly in plastic wrap, then in aluminum foil, and place in a freezer bag or airtight container. Freeze the whole cheesecake or cut it into individual slices for convenient single servings. Thaw overnight in the refrigerator rather than at room temperature to prevent condensation from making the surface soggy. Frozen cheesecake slices can be thawed in just 1-2 hours, making them perfect for satisfying sudden dessert cravings.
Serving temperature affects both flavor and texture perception. Cheesecake tastes best when removed from the refrigerator 20-30 minutes before serving, allowing it to lose some of its chill. This slight warming brings the flavors forward and makes the texture seem creamier and more luxurious. For the cleanest slices, use a sharp, thin-bladed knife dipped in very hot water and wiped completely dry between each cut. The heat melts through the filling cleanly rather than dragging and tearing. A springform pan makes removal easy, but running a thin knife around the edge before releasing the spring prevents the sides from catching and tearing.
Why This Dessert Endures
New York cheesecake has maintained its position as a beloved dessert for generations because it delivers consistent satisfaction. The rich, dense texture feels indulgent without being overwhelmingly heavy, and the tangy cream cheese filling balanced with sweet graham crust creates a complete flavor experience. Unlike trendy desserts that fade from popularity, cheesecake remains a reliable choice that appeals across age groups and occasions.
The versatility contributes to its enduring appeal. A plain slice showcases the pure, classic flavor, while the same base accepts countless toppings and variations without losing its essential character. This adaptability makes it appropriate for casual family dinners and elegant celebrations alike. The impressive appearance - that tall, smooth profile and clean slice - suggests professional skill, yet the straightforward technique remains accessible to home bakers willing to follow instructions carefully.
Perhaps most importantly, cheesecake creates memories. The ritual of making it, the anticipation during the long chilling period, and the satisfaction of cutting into a perfect slice all contribute to its special status. It's a dessert that rewards patience and attention to detail, teaching valuable baking lessons while producing something genuinely delicious. Each successful cheesecake builds confidence and skill, encouraging bakers to experiment with variations and develop their own signature versions of this timeless classic.
Sources
- Homes and Gardens - Martha Stewart's New York-Style Cheesecake
- Sugar Hero - New York Style Cheesecake Recipe
- Bake from Scratch - New York-Style Cheesecake
- Heather's Home Bakery - Classic New York Cheesecake
- Recipezed - Classic New York Cheesecake
- Gourmet Martha - Classic New York-Style Cheesecake
- Sugarologie - New York Cheesecake
- Flavor 365 - The Best Classic New York Cheesecake
- Nonna Food - Classic New York Cheesecake