Homemade Sourdough Bread from Scratch: Complete Guide
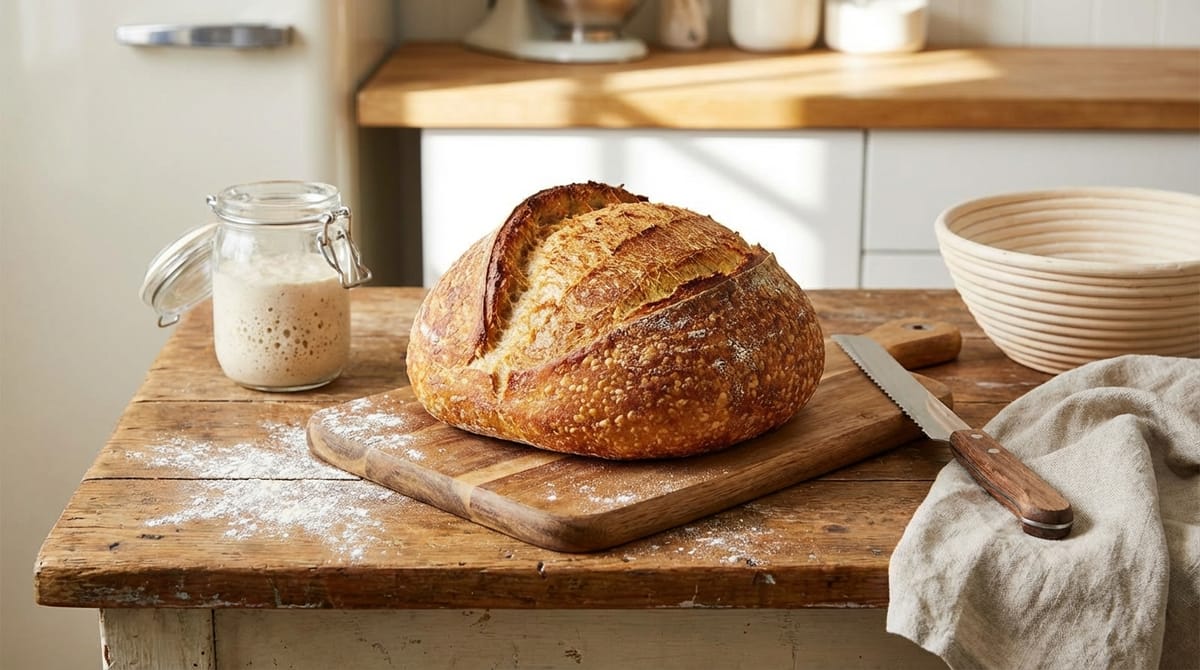
Baking sourdough bread at home transforms four simple ingredients into something extraordinary. Flour, water, salt, and an active sourdough starter combine through fermentation and patience to create loaves with crispy, golden crusts and tender, tangy interiors. The process requires minimal hands-on time, though the journey from starter to finished loaf spans several days.
Unlike commercial yeast breads that rise quickly, sourdough relies on wild yeasts and beneficial bacteria cultivated in your starter. This natural fermentation develops complex flavors and creates bread with better digestibility and keeping quality. The learning curve might seem steep at first, but the fundamentals remain straightforward once you understand the rhythm of feeding, mixing, folding, and baking.
This guide walks you through every stage, from establishing your own starter to pulling your first golden loaf from the oven. No special equipment is required - a Dutch oven helps but alternatives work perfectly well. What matters most is understanding the process and giving your dough the time it needs to develop.
Essential Ingredients and Equipment
Sourdough bread requires remarkably few ingredients. You need unbleached all-purpose flour or bread flour, water, salt, and an active sourdough starter. The quality of these simple components matters significantly. Unbleached flour provides better flavor and nutrition than bleached varieties, while filtered or dechlorinated water prevents chlorine from inhibiting fermentation. Sea salt or kosher salt adds flavor and strengthens gluten structure.
Your equipment list stays equally minimal. A kitchen scale proves invaluable for consistent results, as measuring by weight eliminates the variability of volume measurements. Glass or ceramic mixing bowls work better than metal, which can react with the acidic dough. A bench scraper helps with shaping and handling sticky dough. For proofing, you can use bannetons (proofing baskets) or simply line a bowl with a well-floured kitchen towel.
Baking vessels vary widely in effectiveness. A Dutch oven with a lid creates an ideal steamy environment for maximum oven spring and crust development. However, an enamel roasting pan works equally well, and you can even bake directly on a baking sheet if you create steam in your oven using a pan of water. A lame or sharp razor blade scores the dough before baking, though a very sharp knife serves the same purpose.
Creating Your Sourdough Starter from Scratch
Building a sourdough starter from scratch demands patience and consistency. The process takes anywhere from two weeks to two months depending on your environment, despite social media claims of seven-day starters. Temperature plays a crucial role - maintaining your developing starter around 75-80°F accelerates the process significantly.
Begin with a clean glass jar and combine 100 grams of whole rye or whole wheat flour with 125 grams of warm water. Mix thoroughly and keep the jar in a warm spot for 24 hours. Whole grain flours contain more wild yeasts and bacteria than white flour, jumpstarting fermentation more reliably.
On day two, transfer 75 grams of your mixture to a clean jar and discard the rest. Add 50 grams whole grain flour, 50 grams all-purpose flour, and 115 grams water. Mix well and return to your warm spot for another 24 hours. Repeat this process on day three. By day four, increase to two feedings spaced 12 hours apart, following the same ratios.
Continue this twice-daily feeding schedule until your starter consistently doubles in volume within 4-8 hours after feeding and develops a pleasant, tangy aroma. Bubbles should appear throughout the mixture, not just on the surface. This transformation signals that beneficial microorganisms have established dominance. The timeline varies - cooler kitchens slow the process while warmer environments accelerate it. Don't rush this stage. A mature, stable starter produces far better bread than an underdeveloped one.
Once established, you can maintain your starter with daily feedings if kept at room temperature, or store it in the refrigerator and feed it weekly. Before baking, ensure your starter passes the float test: drop a small spoonful into water, and if it floats, the starter contains enough gas to leaven bread effectively.
Basic Sourdough Bread Recipe
This recipe produces one large loaf or two smaller loaves with a crispy crust and open, airy crumb structure. The timeline spans roughly 24 hours from mixing to baking, though you can adjust the schedule to fit your routine.
Ingredients
- 500 grams bread flour or unbleached all-purpose flour
- 350 grams water (70% hydration), at room temperature
- 100 grams active sourdough starter (fed and bubbly)
- 10 grams sea salt
- Additional flour for dusting
Instructions
- Mix 350 grams water with 100 grams active starter in a large bowl until the starter dissolves into the water. Add 500 grams flour and stir until no dry flour remains. The dough will look shaggy and rough. Cover and let rest for 30-60 minutes. This autolyse period allows flour to hydrate fully and begins gluten development without kneading.
- Sprinkle 10 grams salt over the dough and add 25 grams additional water. Pinch and fold the dough repeatedly until the salt incorporates fully, about 5 minutes. The dough will feel sticky and loose.
- Begin bulk fermentation. Over the next 3-4 hours, perform a series of stretch and folds every 30 minutes for the first 2 hours. To stretch and fold, wet your hands, grab one side of the dough, stretch it upward, and fold it over itself. Rotate the bowl 90 degrees and repeat four times total. This builds strength without traditional kneading.
- After completing your stretch and folds, let the dough rest undisturbed for the remaining bulk fermentation time. The dough should increase in volume by 30-50% and show bubbles on the surface and sides. This typically takes 4-6 hours total at room temperature, though cooler kitchens require more time.
- Turn the dough onto a lightly floured surface. Gently shape it into a round by folding the edges toward the center, then flip it seam-side down. Using your hands or a bench scraper, drag the dough in circles to create surface tension. Let rest for 20-30 minutes.
- Perform the final shaping. Flip the dough seam-side up, fold the edges to the center again to create a taut surface, then flip seam-side down into a floured banneton or bowl lined with a heavily floured towel. Cover and refrigerate for 8-16 hours. This cold proof develops flavor and makes scoring easier.
- Preheat your oven to 450°F with your Dutch oven or baking vessel inside for at least 45 minutes. Turn the cold dough onto parchment paper, score the top with a sharp blade in your desired pattern, and carefully transfer into the preheated vessel using the parchment as a sling.
- Bake covered for 20 minutes, then remove the lid and bake for an additional 25-35 minutes until deep golden brown. The internal temperature should reach 205-210°F. Cool completely on a wire rack for at least one hour before slicing. The crumb continues to set during cooling.
Understanding Fermentation and Timing
Fermentation timing varies dramatically based on temperature, starter strength, and flour type. A warmer kitchen accelerates fermentation while cooler temperatures slow it down. Learning to read your dough matters more than following exact time guidelines.
During bulk fermentation, watch for visual cues rather than relying solely on the clock. The dough should feel airier and jiggly when you gently shake the bowl. Bubbles appear on the surface and along the sides where dough meets bowl. The volume increases noticeably but shouldn't quite double - overproofed dough loses structure and produces flat, dense loaves.
The cold overnight proof in the refrigerator serves multiple purposes. Cold temperatures slow yeast activity while allowing flavor-developing bacteria to continue working, creating more complex taste. The firm, cold dough also scores more cleanly and holds its shape better when transferred to the hot baking vessel. You can extend this cold proof up to 48 hours for even more sour flavor, though most bakers find 12-16 hours ideal.
Temperature control becomes easier with practice. If your kitchen runs cold, place your fermenting dough inside your oven with the light on, creating a warm microclimate. In hot weather, use cooler water in your initial mix and reduce bulk fermentation time. The dough itself provides all the feedback you need once you learn its language.
Shaping Techniques for Better Structure
Proper shaping creates internal structure that translates to better oven spring and a more open crumb. The goal is building surface tension - a tight outer skin that contains the expanding gases during baking while allowing the loaf to rise upward rather than spreading outward.
After bulk fermentation, turn your dough onto a lightly floured work surface. Resist the urge to deflate it completely. Gently coax it into a rough rectangle, then perform a letter fold: fold the bottom third up and the top third down, like folding a business letter. Rotate 90 degrees and repeat. This pre-shape organizes the gluten strands and begins building tension.
Let the pre-shaped dough rest for 20-30 minutes under a towel. This bench rest allows the gluten to relax, making final shaping easier. For the final shape, flip the dough so the smooth side faces down. Fold each edge toward the center, working around the dough in a circle. You'll create a package with all seams meeting in the middle. Flip this seam-side down.
Cup your hands around the dough and drag it in small circles against your work surface. The friction between dough and counter creates tension across the top surface. You'll feel the dough tighten and see the surface become taut and smooth. Avoid over-flouring your surface during this step - you need slight stickiness for the friction to work. Transfer immediately to your proofing basket seam-side up. The seam side will become the top of your loaf, opening dramatically when scored.
Scoring and Baking for Maximum Oven Spring
Scoring serves both aesthetic and functional purposes. The cuts guide where steam escapes and how the loaf expands in the oven. Without scores, bread tears randomly as internal pressure seeks release. Deep, confident cuts at a 30-45 degree angle produce the dramatic "ears" characteristic of artisan sourdough.
Classic scoring patterns include a simple slash down the center, a cross, or a square pattern. Hold your blade at an angle rather than perpendicular to the dough - this angle creates a flap that lifts during baking. Score cold dough straight from the refrigerator for the cleanest cuts. Room temperature dough tends to stick and drag.
Oven spring - the rapid rise during the first minutes of baking - depends on steam and high heat. The steam keeps the crust soft initially, allowing maximum expansion before the exterior sets. A preheated Dutch oven traps steam released by the dough itself. If baking on a sheet, place a metal pan on the oven floor and add boiling water just before sliding in your bread. Work quickly to preserve oven temperature.
Bake at high heat initially to maximize spring, then finish at slightly lower temperature or with the lid removed to develop color and crispness. The crust should achieve a deep mahogany color - pale loaves lack flavor development. Don't fear dark crusts. The Maillard reaction creating that color also creates complex, nutty flavors. A properly baked loaf sounds hollow when tapped on the bottom and registers 205-210°F internally.
Troubleshooting Common Issues
Dense, heavy bread typically results from underproofing or weak starter. If your loaf resembles a hockey puck, your dough likely needed more fermentation time or your starter wasn't active enough. Ensure your starter doubles reliably within 4-8 hours of feeding before using it for bread. During bulk fermentation, wait for clear signs of fermentation - bubbles, increased volume, and a jiggly texture.
Overly sour bread happens when fermentation extends too long or temperatures run too warm. While some enjoy aggressive sourness, most prefer a balanced tang. Shorten your bulk fermentation slightly and ensure your cold proof doesn't exceed 24 hours. Using a higher ratio of starter to flour also reduces sourness by speeding fermentation.
Flat loaves that spread rather than rise indicate several possible issues. Overproofing breaks down gluten structure, leaving dough unable to hold its shape. Insufficient shaping fails to create the surface tension needed for upward expansion. Weak flour with low protein content may lack the gluten strength for structure. Try bread flour instead of all-purpose, proof for less time, and focus on building better tension during shaping.
A gummy, undercooked interior despite a dark crust means either your oven temperature runs too hot or you sliced the bread too soon. Verify your oven temperature with a separate thermometer - many ovens run 25-50 degrees off their display. Always cool bread completely before cutting. The crumb continues to set during cooling, and cutting hot bread results in a gummy, compressed texture.
Variations and Advanced Techniques
Once you master the basic recipe, endless variations await. Whole grain sourdough incorporates wheat, spelt, or rye flour for earthier flavor and increased nutrition. Replace up to 30% of the white flour with whole grain varieties, adding slightly more water since whole grains absorb more liquid. Expect a denser crumb and more assertive flavor.
Add-ins transform basic sourdough into specialty loaves. Fold in seeds, nuts, dried fruit, olives, cheese, or herbs during the final stretch and fold. Distribute additions evenly without overworking the dough. Popular combinations include rosemary and olive oil, cheddar and jalapeño, or cinnamon and raisins. Keep additions to 20% of flour weight maximum to avoid compromising structure.
Higher hydration doughs - those with more water relative to flour - produce more open crumb structures with larger, irregular holes. Increasing hydration to 75-80% creates bakery-style bread but demands better handling skills. The wetter dough feels stickier and requires confident, quick movements during shaping. Practice with standard hydration first before pushing boundaries.
Longer fermentation develops more complex flavors. Some bakers extend bulk fermentation to 6-8 hours at cool room temperature, or even ferment for 24 hours in the refrigerator. These extended timelines require less starter in the initial mix - try reducing to 50 grams starter for 500 grams flour. The slower fermentation allows enzymes more time to break down starches and proteins, creating depth impossible with quick rises.
Conclusion
Baking sourdough bread from scratch connects you to centuries of bread-making tradition while producing loaves far superior to anything available in stores. The process demands patience and attention but rewards you with skills that deepen over time. Each loaf teaches something new about fermentation, gluten development, and the subtle variables affecting outcome.
Start with a healthy, active starter and follow the basic recipe until the rhythm becomes familiar. Watch your dough rather than the clock, learning to recognize the signs of proper fermentation. Practice your shaping to build structure and confidence. Accept that early loaves may not achieve perfection - the learning process itself holds value.
The beauty of sourdough lies in its simplicity and depth. Four ingredients and time create something complex, nourishing, and deeply satisfying. Your kitchen fills with the incomparable aroma of baking bread, and you gain the knowledge that you've created real food using methods humans have practiced for thousands of years. Once you pull that first successful loaf from your oven, you'll understand why so many bakers find the process addictive.
Sources
- Simmering Starfruit - Homemade Sourdough Bread
- Thomas Cuisine - How to Make Sourdough Bread Printable Recipe
- Itchol - Easy Sourdough Bread Recipe
- MyALH - Sourdough Bread Bakers Handbook
- The Sourdough Baker - Printable Starter Guide
- Bake With Jamie - Sourdough Bread
- Jam Jar Kitchen - Beginner Sourdough Bread
- House of Nash Eats - Sourdough Bread